
A control in Impero helps to give control responsibles clear, step-by-step instructions. With design elements similar to a questionnaire, you can require control answers in a pre-defined format (e.g., Confirmed/Not confirmed) and demand necessary evidences.
How do I create a new control?
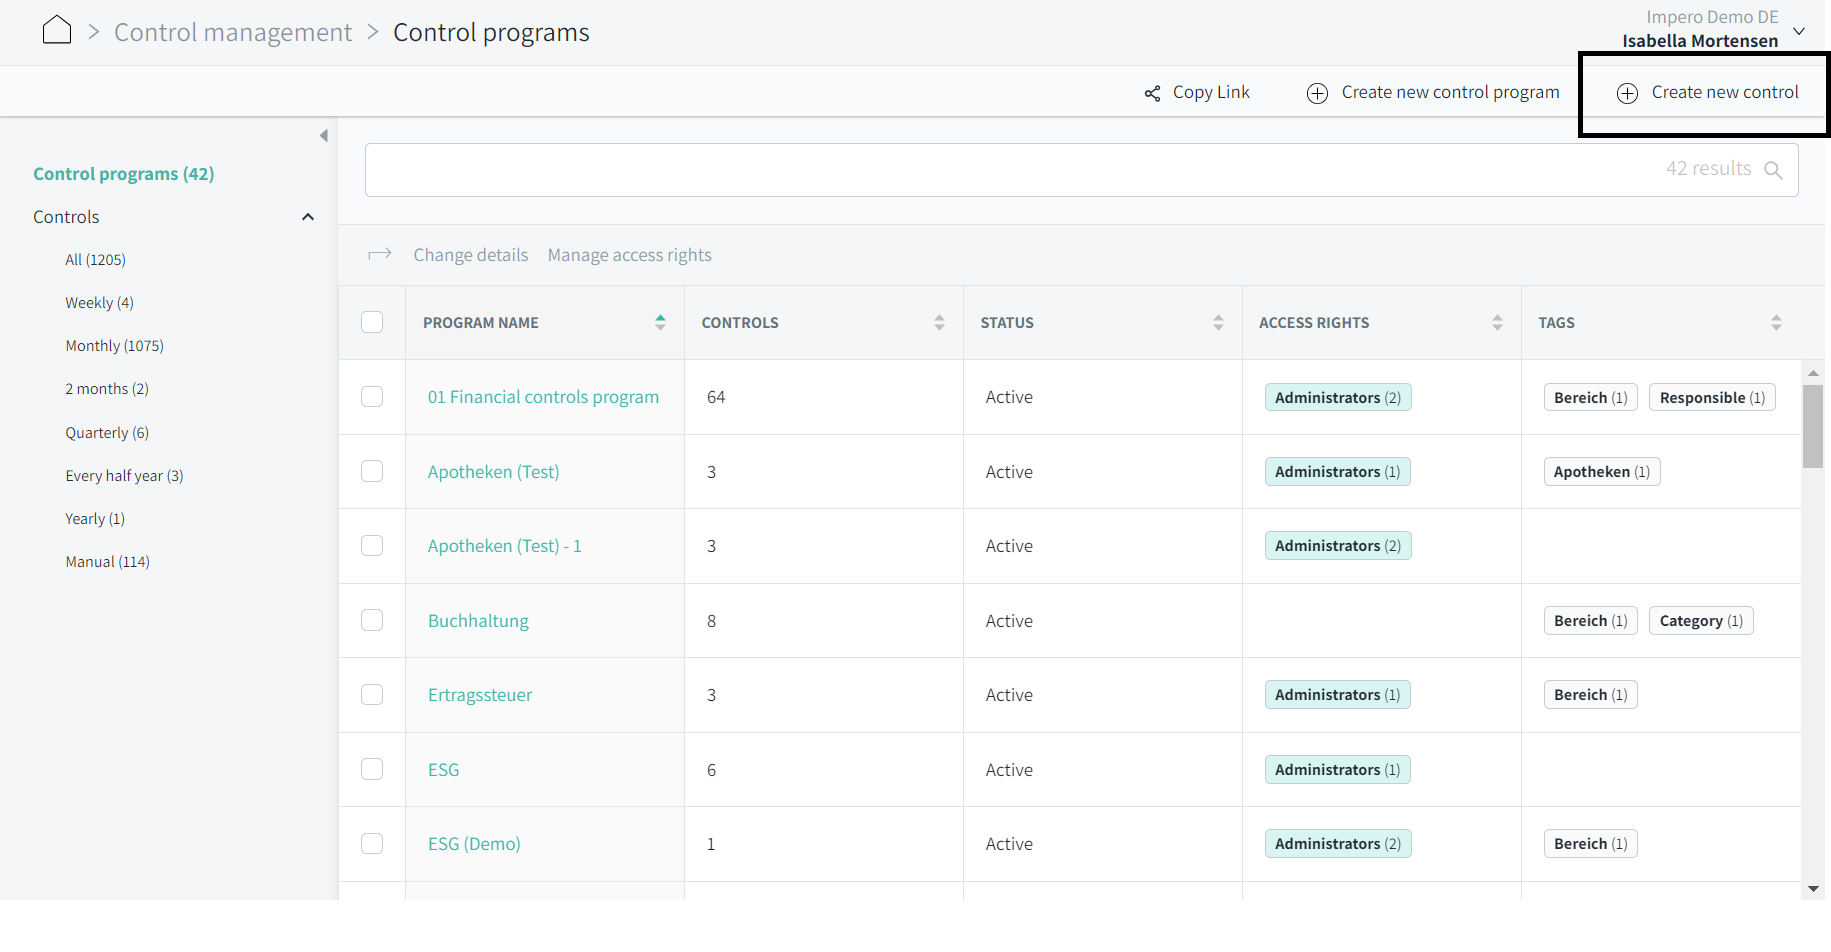
1. Go to "Control Management" ![]() .
.
2. Click on "Create new control" in the upper right corner, as demonstrated below.
Alternatively, you can enter a control program and click "Add control" either from the menu bar or further down within the window as a green button. 
![]()
3. Both options will redirect you to the control editor, which is divided into the sections Details, Assign, Schedule, Planning, Reminders and Tasks.
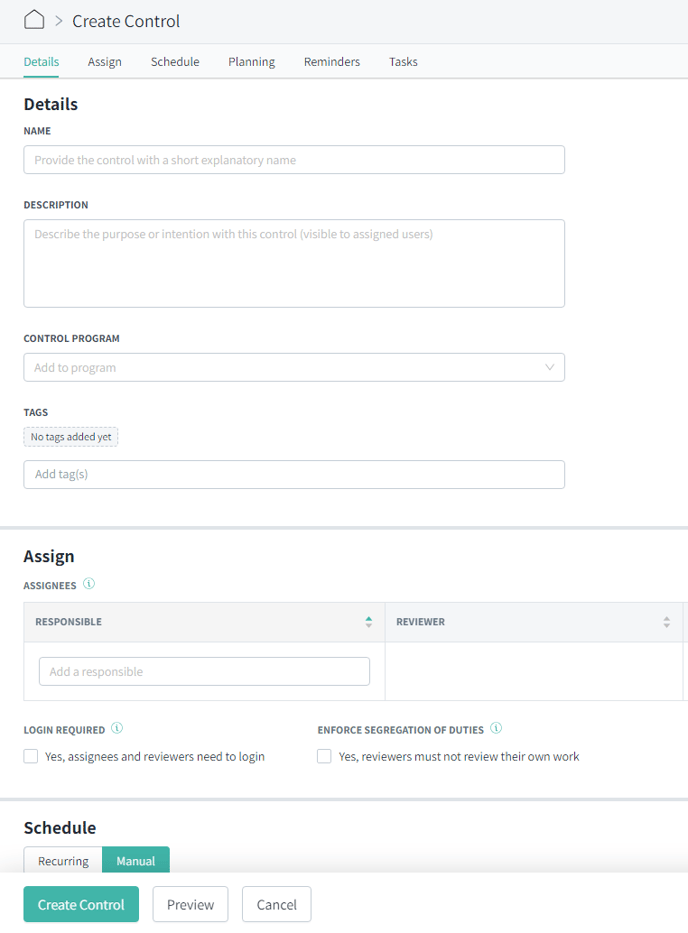
4. Provide your control with a name and a control description.
5. In case the control is not already connected to a program, do that in the field "Control Program".
6. Add tags if needed. Read more about tags here.
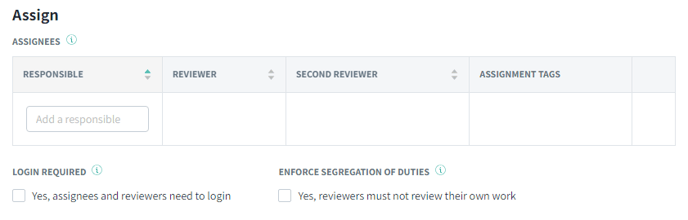
7. Go to the "Assign"-section and add a responsible user to the control. You can also assign a reviewer and a 2nd reviewer.
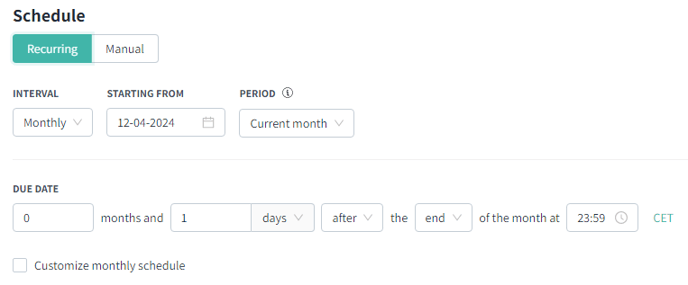
8. Set the recurrence, due date and other schedule details for the control.
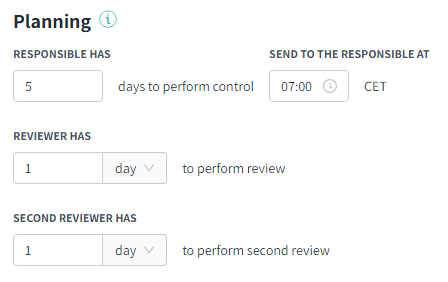
9. Plan how many days or hours the control responsible and reviewer(s) have to perform the control and the review. Set the time for when the responsible should receive the control.
10. You can set up reminders for the responsible and the reviewers both before and after the due date. You can enter as many reminders as you wish. The reminders are sent to the user who has the control at that time.

11. Go to the "Tasks"-section (Figure 4), and design your control using one or more tasks. Simply click on the tasks you want to add and edit the information. You can add different types of tasks for both the responsible, the reviewer and the second reviewer. Toggle between the roles in menu and add tasks for each role.
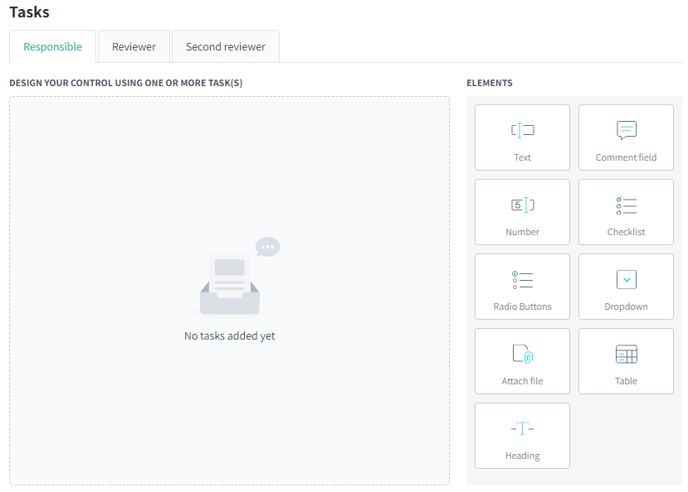
Figure 4: Design your control with tasks.
12. Click preview to get a view of the control you have created. Here you have the option to preview how the control looks for the responsible and the reviewer(s). Click on the certain role in the top right corner when looking in the preview section:
![]()
13. Finish creating your control by clicking "Create Control"  .
.